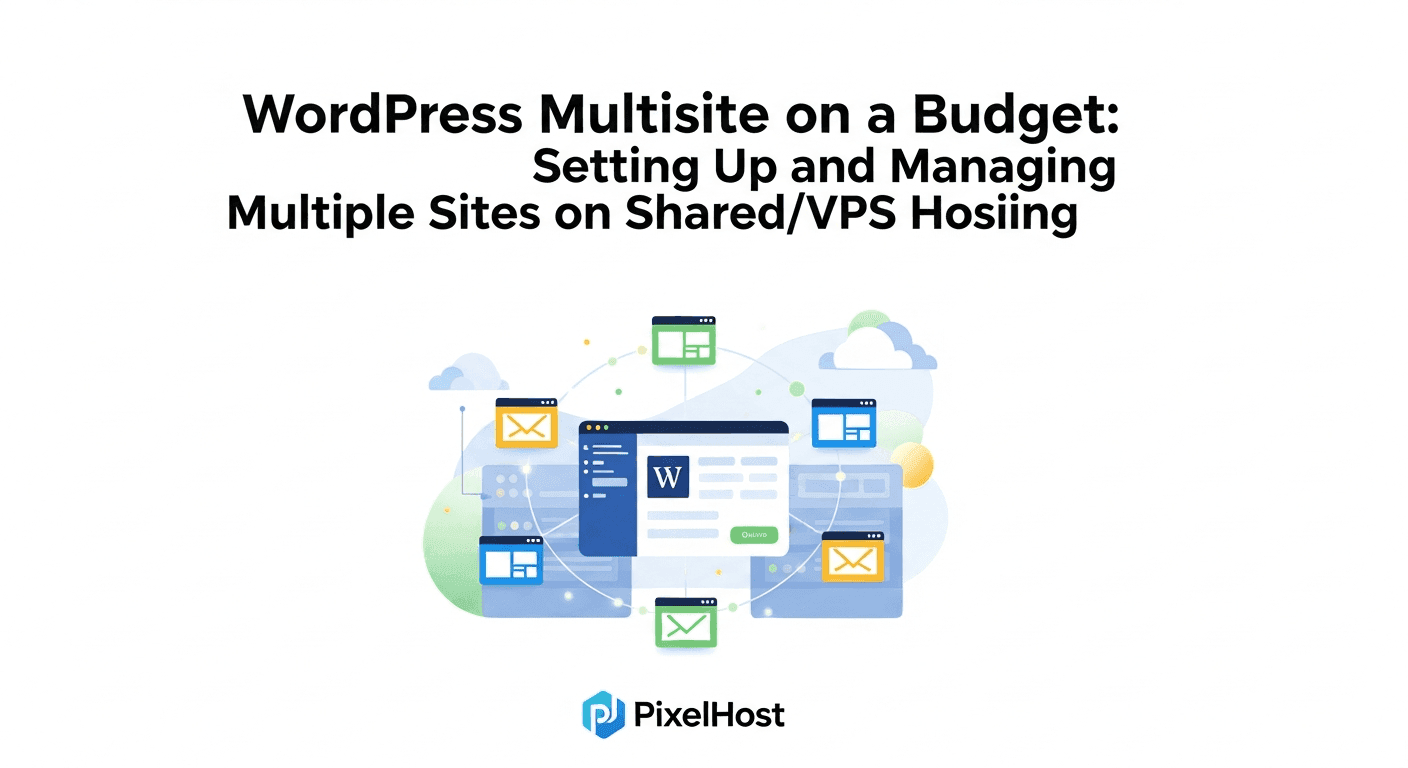
For many creators, small businesses, and agencies, managing a single WordPress website is a familiar task. But what if you need to run multiple sites, perhaps for different projects, clients, or a network of niche blogs, all without juggling countless separate installations and hosting accounts? This is where WordPress Multisite shines, offering a powerful way to manage an entire network of websites from a single WordPress dashboard. The common perception is that such power comes with a hefty price tag, pushing it out of reach for budget-conscious users. However, with the right approach and a clear understanding of its demands, WordPress Multisite can indeed be a viable and cost-effective solution even on shared or entry-level VPS hosting.
This article will demystify WordPress Multisite for those operating on a budget, guiding you through the practical steps of setting it up and managing it effectively on shared or VPS hosting environments. We'll explore the crucial considerations for choosing the right hosting, walk through the technical setup, and provide actionable tips for optimizing performance and troubleshooting common issues. Our goal is to equip you with the knowledge to leverage the efficiencies of a Multisite network without breaking the bank, demonstrating that powerful web management can be accessible to everyone, not just large enterprises.
Understanding WordPress Multisite: Is It Right for You?
WordPress Multisite transforms a standard WordPress installation into a network hub, allowing you to create and manage multiple individual websites – known as 'subsites' – all from one central dashboard. Each subsite can have its own content, users, and even unique themes and plugins, while sharing the core WordPress files and database tables. This centralized management dramatically streamlines updates, security, and content deployment across your entire network.
The benefits are significant for specific use cases. Imagine running a web design agency where each client gets their own subsite under your main domain, or a university managing departmental websites, or even a blogger running a network of niche sites for different topics. For these scenarios, Multisite offers unparalleled efficiency. However, it's not a one-size-fits-all solution. Its complexity and resource demands mean it might not be the best choice for every project, especially when budget is a primary concern.
While powerful, Multisite does come with trade-offs, particularly when you're trying to keep costs low. All subsites draw resources from the same hosting account, which can quickly lead to performance issues if not managed correctly. Plugin and theme compatibility can also be a hurdle, as not all are designed to work seamlessly in a Multisite environment. Understanding these potential downsides upfront is key to a successful budget-friendly implementation.
- Pro: Centralized management saves time on updates and maintenance across multiple sites.
- Con: Higher resource consumption; one subsite's issue can affect the entire network.
- Pro: Shared themes and plugins across the network reduce redundancy and storage.
- Con: Not all plugins/themes are Multisite compatible, requiring careful selection.
- Pro: Easier user management with Super Admin role overseeing all sites.
- Con: More complex initial setup and troubleshooting compared to a single site.
Shared vs. VPS Hosting for Multisite: The Budget Perspective
Choosing the right hosting is the bedrock of a successful budget Multisite setup. Your options typically boil down to shared hosting or Virtual Private Server (VPS) hosting, each with distinct advantages and limitations when it comes to supporting multiple WordPress installations.
Shared hosting is the most budget-friendly option, with plans often costing just a few dollars a month. On shared hosting, your website resides on a server alongside hundreds or thousands of other websites, all sharing the same CPU, RAM, and disk I/O. While this works adequately for a single, low-traffic WordPress site, a Multisite network can quickly overwhelm these shared resources. Even a modest network of 3-5 subsites with moderate traffic can lead to slow loading times, frequent errors, and even account suspension if resource limits are consistently exceeded. If you must start here, ensure your shared plan offers generous resource allocations and be prepared to upgrade quickly.
VPS hosting, on the other hand, provides a significant step up in performance and control. While still sharing a physical server, a VPS allocates a dedicated portion of resources (CPU, RAM, storage) exclusively to your account. This isolation means your Multisite network won't be impacted by 'bad neighbors' on the same server, and you'll have more consistent performance. Entry-level VPS plans are more expensive than shared hosting but offer a far better foundation for Multisite, typically ranging from $10-$30 per month. For a budget-conscious Multisite, a managed VPS is often the sweet spot, balancing performance with ease of use, as the hosting provider handles server maintenance and security.
Pre-Installation Checklist: What You Need Before You Start
Before diving into the technical setup, a little preparation goes a long way in ensuring a smooth Multisite installation. The most critical decision you'll make is your network's domain structure: will your subsites use subdomains (e.g., site1.yourdomain.com, site2.yourdomain.com) or subdirectories (e.g., yourdomain.com/site1, yourdomain.com/site2)? Subdomains require wildcard DNS setup and are generally more flexible for independent sites, while subdirectories are simpler for a unified network. This choice must be made at installation and is difficult to change later.
If you're converting an existing WordPress site into a Multisite network, performing a complete backup of your files and database is non-negotiable. This provides a safety net in case anything goes wrong during the conversion process. Additionally, confirm that your hosting provider fully supports Multisite and allows for the necessary `mod_rewrite` Apache module (or Nginx equivalent) and PHP memory limit adjustments. Some very restrictive shared hosts might not permit the required configurations.
- Decide on your network structure: subdomains or subdirectories. (Subdomains typically require more hosting configuration).
- Ensure your hosting provider supports WordPress Multisite and allows wildcard subdomains if you choose that option.
- Increase your PHP memory limit to at least 256MB or 512MB. (This can often be done via your host's control panel or a `.htaccess` file).
- Perform a full backup of your existing WordPress site's files and database if converting.
- Have FTP/SFTP access credentials ready for editing `wp-config.php` and `.htaccess`.
- Familiarize yourself with your hosting control panel (cPanel, Plesk, etc.) for DNS or server settings.
Step-by-Step Setup: Enabling Multisite on Your WordPress Installation
Assuming you have a fresh WordPress installation or a backed-up existing one, here’s how to enable Multisite. Remember, these steps involve editing core WordPress files, so proceed with caution and only after a backup.
**Step 1: Allow Multisite in `wp-config.php`**. Using an FTP client or your host's file manager, open your `wp-config.php` file (located in your WordPress root directory). Find the line `/* That's all, stop editing! Happy publishing. */` and immediately above it, add `define('WP_ALLOW_MULTISITE', true);`. Save the file and upload it back to your server. This step simply tells WordPress that you intend to enable Multisite.
**Step 2: Install the Network**. Log into your WordPress admin dashboard. You'll now see a new item under 'Tools' called 'Network Setup'. Click on it. Here, you'll choose between subdomains and subdirectories (this is your last chance to make this choice!). Give your network a title and enter your admin email. WordPress will then generate some code snippets for you. Do *not* close this page yet.
**Step 3: Update `wp-config.php` and `.htaccess`**. WordPress will provide two blocks of code. The first block needs to be pasted into your `wp-config.php` file, replacing the `define('WP_ALLOW_MULTISITE', true);` line you added earlier. The second block needs to be pasted into your `.htaccess` file (also in your WordPress root directory), replacing any existing WordPress rules. If you can't find `.htaccess`, ensure your FTP client shows hidden files. Save both files and re-upload them.
**Step 4: Login and Explore Your Network Admin**. After updating these files, you'll need to log in again. You'll now see a new 'My Sites' menu in the top left of your admin bar. From here, you can access your 'Network Admin' dashboard, which is your central control panel for the entire Multisite network. Take some time to explore this new interface; it's where you'll add new sites, manage users, and oversee network-wide themes and plugins.
Managing Your Network: Users, Themes, and Plugins
Once your Multisite network is up and running, management shifts from individual site dashboards to the powerful Network Admin interface. As the 'Super Admin,' you have overarching control over all subsites, including user management, theme and plugin installations, and adding new sites to your network.
From the Network Admin, you can install themes and plugins that become available across all subsites. However, individual subsite administrators can only *activate* themes and plugins that you, as the Super Admin, have made available. This centralized control helps maintain consistency and security. Be mindful that not all plugins and themes are Multisite-compatible; always test them on a non-production subsite first if possible.
Adding new sites is remarkably simple. In the Network Admin, go to 'Sites' > 'Add New'. You provide a site address (subdomain or subdirectory), title, and admin email. WordPress automatically creates the new subsite, ready for content. User management is also streamlined; you can add users at the network level and assign them to specific subsites with appropriate roles (e.g., editor, author, administrator for that subsite). This flexible permission system is crucial for collaborative projects or client management.
Optimizing Performance on a Budget Host
On shared or entry-level VPS hosting, performance optimization is not optional—it's essential for a stable Multisite network. Since all subsites draw from the same resource pool, every bit of efficiency counts. Start with a robust caching strategy. Implement a caching plugin like WP Super Cache or LiteSpeed Cache (if your host uses LiteSpeed servers) network-wide or configure it carefully per subsite. Caching reduces the load on your server by serving static versions of your pages, dramatically speeding up delivery for repeat visitors.
Image optimization is another critical area. Large, unoptimized images are a common culprit for slow websites. Use plugins that automatically compress images upon upload (e.g., Smush, Imagify) and consider implementing a Content Delivery Network (CDN) like Cloudflare (which offers a free tier). A CDN stores static copies of your site's assets (images, CSS, JavaScript) on servers globally, delivering them quickly to users from the nearest location, further reducing the load on your primary server.
Finally, adopt a 'less is more' approach with themes and plugins. Choose lightweight, well-coded themes that don't come bloated with unnecessary features. Audit your plugins regularly and remove any that aren't absolutely essential or are known to be resource-intensive. Regular database optimization using a plugin can also help keep your Multisite database lean and responsive. Every small optimization contributes to a snappier, more stable network on a budget.
Troubleshooting Common Multisite Issues on Shared/VPS
Even with careful setup, Multisite on budget hosting can present unique challenges. One common issue is the 'login loop' or redirection errors, often occurring after setup. This is typically due to incorrect `.htaccess` rules (especially if you've moved your site or changed domain structure) or aggressive caching. Clearing your browser cache, server cache, and meticulously checking your `.htaccess` file against the code provided during network setup can often resolve this.
Resource limits are another frequent headache. If you start seeing '500 Internal Server' errors, blank pages, or slow admin dashboards, it's a strong indicator that your network is hitting PHP memory limits or CPU caps. Check your hosting control panel for error logs, which can pinpoint the exact cause. Increasing your PHP memory limit (if your host allows) is a first step, but persistent resource issues often signal it's time to upgrade your hosting plan.
Email delivery can also be tricky, as default WordPress email functions might struggle to send from multiple subsites reliably. Implementing an SMTP plugin and configuring it with a dedicated email service (like SendGrid or Mailgun, which have free tiers for low volume) is highly recommended for consistent email delivery across your network. Lastly, always test new themes and plugins thoroughly on a staging subsite before deploying them network-wide, as compatibility issues can bring down an entire network.
When to Upgrade: Scaling Your Multisite Network
While budget hosting can get you started, there comes a point when the benefits of an upgrade outweigh the cost savings. Signs that your Multisite network is outgrowing its current environment include frequent slowdowns across all sites, recurring 500 errors, unresponsive admin dashboards, or warnings from your hosting provider about excessive resource usage. These are clear indicators that your network's traffic or complexity has exceeded your hosting plan's capabilities.
The natural progression from shared hosting is to a more robust VPS plan. If you're already on a basic VPS, consider upgrading to a plan with more RAM, CPU cores, and faster storage (like NVMe SSDs). For very large or high-traffic Multisite networks, dedicated servers or cloud hosting solutions (e.g., AWS, Google Cloud, DigitalOcean) become the next logical step, offering unparalleled scalability and control, albeit at a higher price point. Always factor in the cost of a managed solution if you're not comfortable with server administration.
Remember, the goal is to balance budget constraints with user experience and network stability. Don't wait until your sites are constantly crashing or frustrating your visitors to consider an upgrade. Proactive scaling based on performance monitoring and traffic growth is key to maintaining a healthy and successful Multisite network in the long run.
Key Takeaways for Budget Multisite Success
Running WordPress Multisite on a budget is entirely achievable, but it demands careful planning, diligent optimization, and a realistic understanding of resource limitations. It's a powerful tool for managing multiple sites efficiently, especially for specific use cases like agencies, educational institutions, or niche content networks.
Prioritize a solid hosting foundation – an entry-level managed VPS is often the ideal starting point for a growing Multisite network, offering a better balance of cost and performance than most shared plans. Make crucial decisions like subdomain vs. subdirectory structure early on. Implement aggressive caching, optimize images, and choose lightweight themes and plugins to keep your network lean and fast.
By proactively monitoring performance, addressing troubleshooting issues promptly, and being prepared to scale your hosting as your network grows, you can successfully leverage WordPress Multisite to manage numerous websites without breaking the bank. It's about smart resource allocation and continuous optimization, proving that powerful web management can indeed be accessible to everyone.